There are two ways to install WordPress on your Synology NAS: simple and complex. Also known as the Synology way and the WordPress.org way. This first part in a series of four explains their differences. Make your choice and continue with part 2 (simple & limited) or part 3 (complex & flexible).
Install WordPress on Synology NAS (part 1)
This is part 1 of a four-part series about hosting WordPress on Synology NAS. The four parts each cover a different aspect of this topic.
- Part 1 – introduction to WordPress on your NAS (this post)
highlight the different scenarios and necessary preparations - Part 2 – install WordPress from Synology
highlights the installation steps of this setup - Part 3 – install WordPress from WordPress.org
highlights the installation steps of this setup - Part 4 – WordPress maintenance
backup, second instance, suspend, reset and uninstall, internal DNS setup
Simple versus Complex Setup
You can install WordPress on a Synology NAS in two ways.
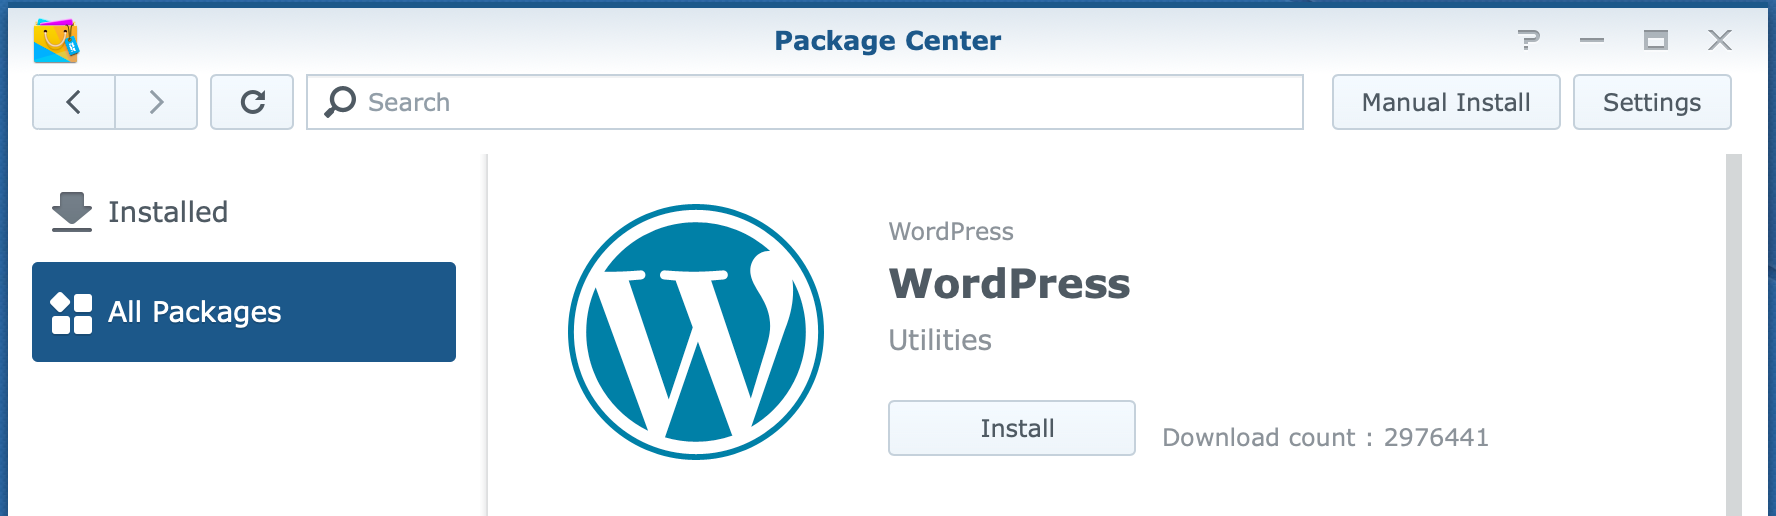
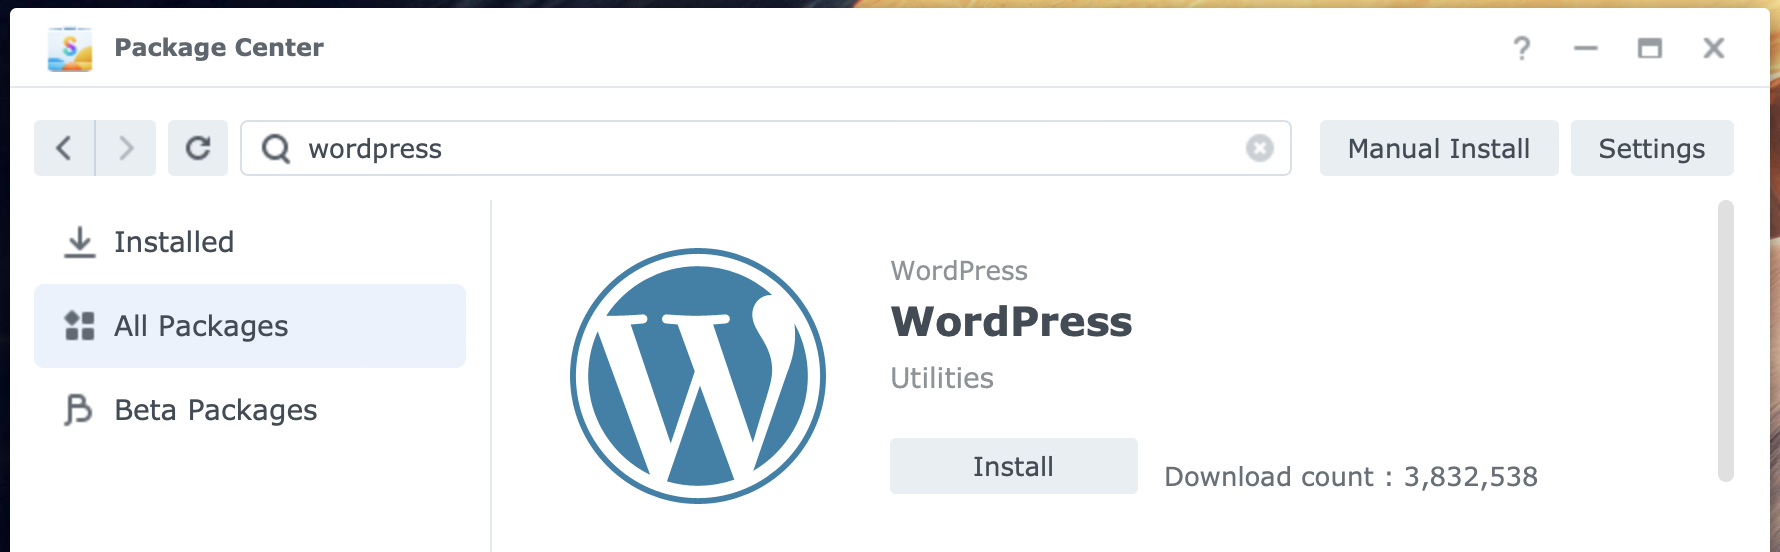
One option is the Synology WordPress package from Package Center. This installation takes care of all dependencies and most of the necessary configurations. This is the easy way, but it has several limitations.
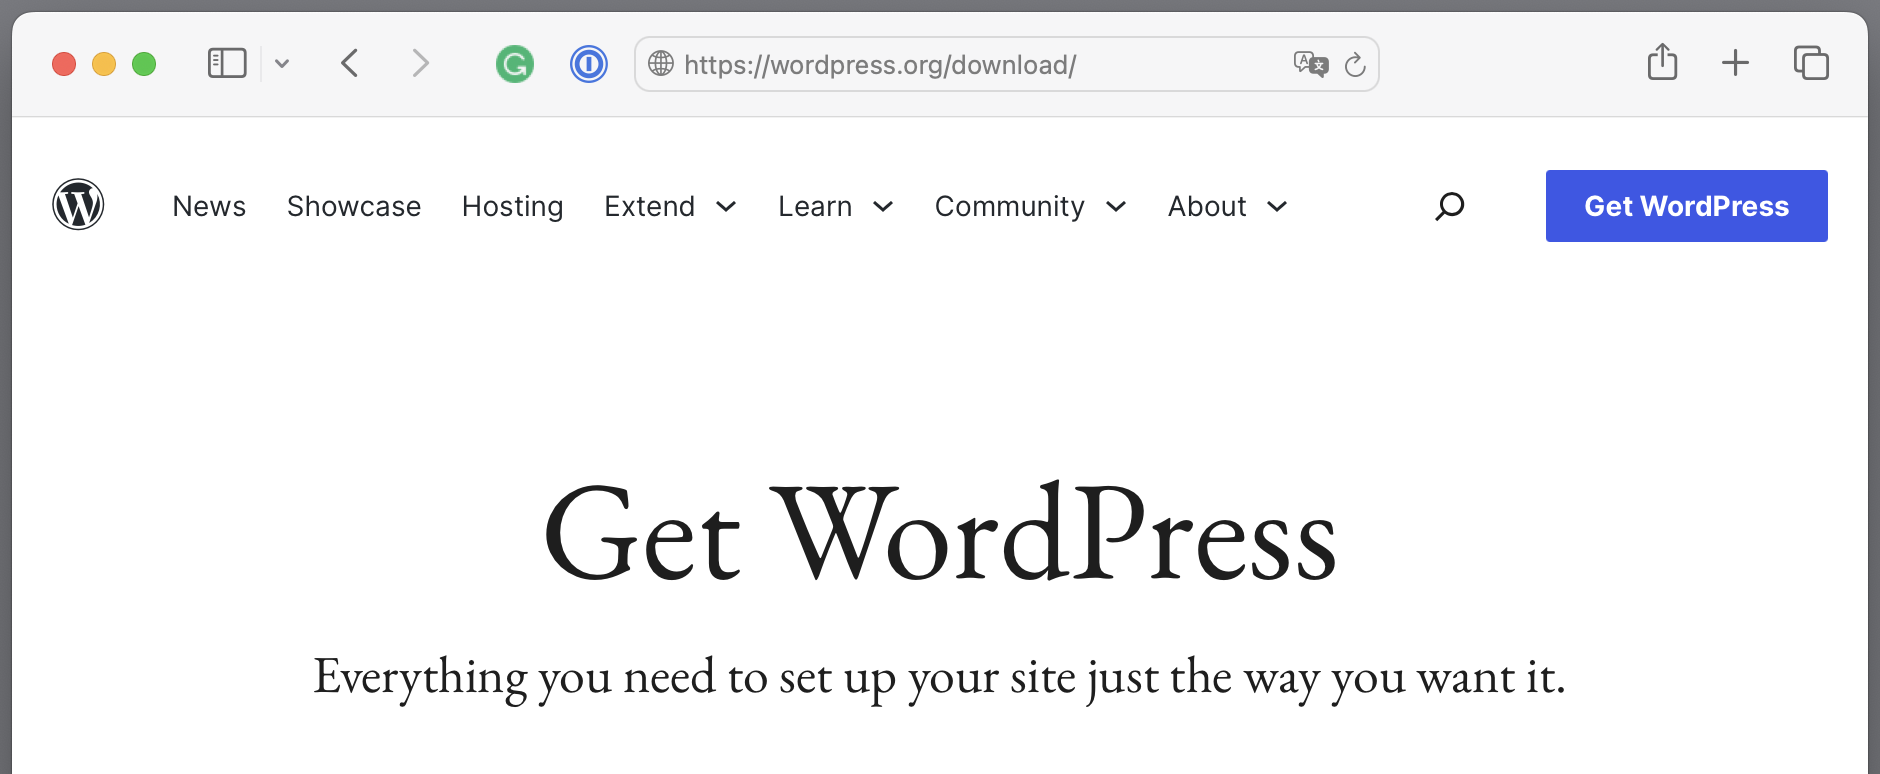
The other option is a download from WordPress.org. This is a fully manual process and, as a result, more complex. The advantage is complete control over the installation and no limitations.
And for the record, you can install both ways on a single Synology NAS. Both options do not interfere with each other.
The table below highlights the main differences between the two options.
| WordPress from Synology | WordPress.org | |
| installation process | easy | medium complex |
| upgrade frequency | 1-2 times a year | monthly (approx.) |
| control over configuration | no | yes |
| multiple instances | no | yes |
| own domain | no | yes |
| use cases | intranet | intranet / internet |
WordPress from Synology
WordPress is frequently updated, but Synology refreshes its WordPress package only once or twice a year. As a result, you often work with an outdated version. Due to security risks, I recommend this option for use on your internal network only.
Besides security risks, an outdated version may limit you when installing plugins requiring a later version. I experienced this myself and found it annoying.
In contrast to the second option from WordPress.org, WordPress from Synology only lets you install one WordPress website on your NAS.
If you want the most straightforward installation and configuration process and are okay with the limitations mentioned, the WordPress from Synology package is your best bet.
WordPress from WordPress.org
You can download the latest version from WordPress.org and install it on your NAS. You install the packages WordPress depends on from Package Center. Finally, you configure some items yourself to connect the components.
The limitations that I mentioned for WordPress from Synology do not apply here. You run a fully up-to-date site, and it is safe to use it internally and externally as a website on the Internet.
Multiple WordPress websites are possible thanks to the web portal feature of Web Station.
The additional steps for installation and configuration may scare you off, but you will find them described in the smallest detail in part 3 of this series.
Credits
This series of posts merge my experience and testing with different resources on the web. I want to mention three resources for their invaluable work in random order: Paul Barrett, Frank from Wundertech, and Marius Lixandru.
Preparations
Before we dive into the nitty-gritty, let us prepare the necessary steps first.
NAS set up
Regarding the best NAS configuration for WordPress, there are a few recommendations.
SSD gives better performance than HDD, as expected. Do not power down the HDDs in a suspend mode, giving the visitor an unacceptable delay.
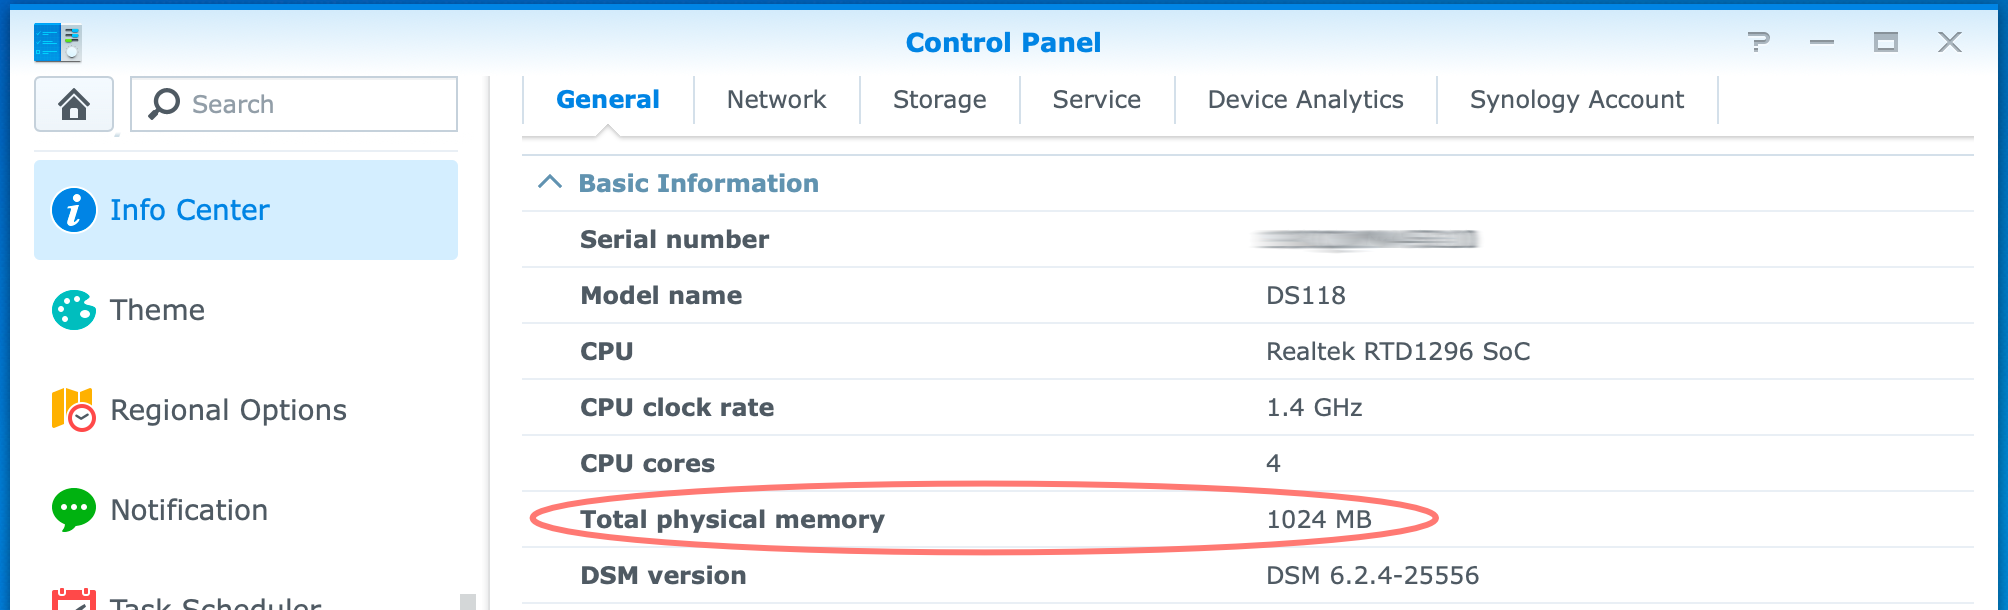
Extra RAM may help, but it depends on whether your website will load the system heavily. WordPress is not high on resources; you can set it up with very modest hardware with 1GB RAM.
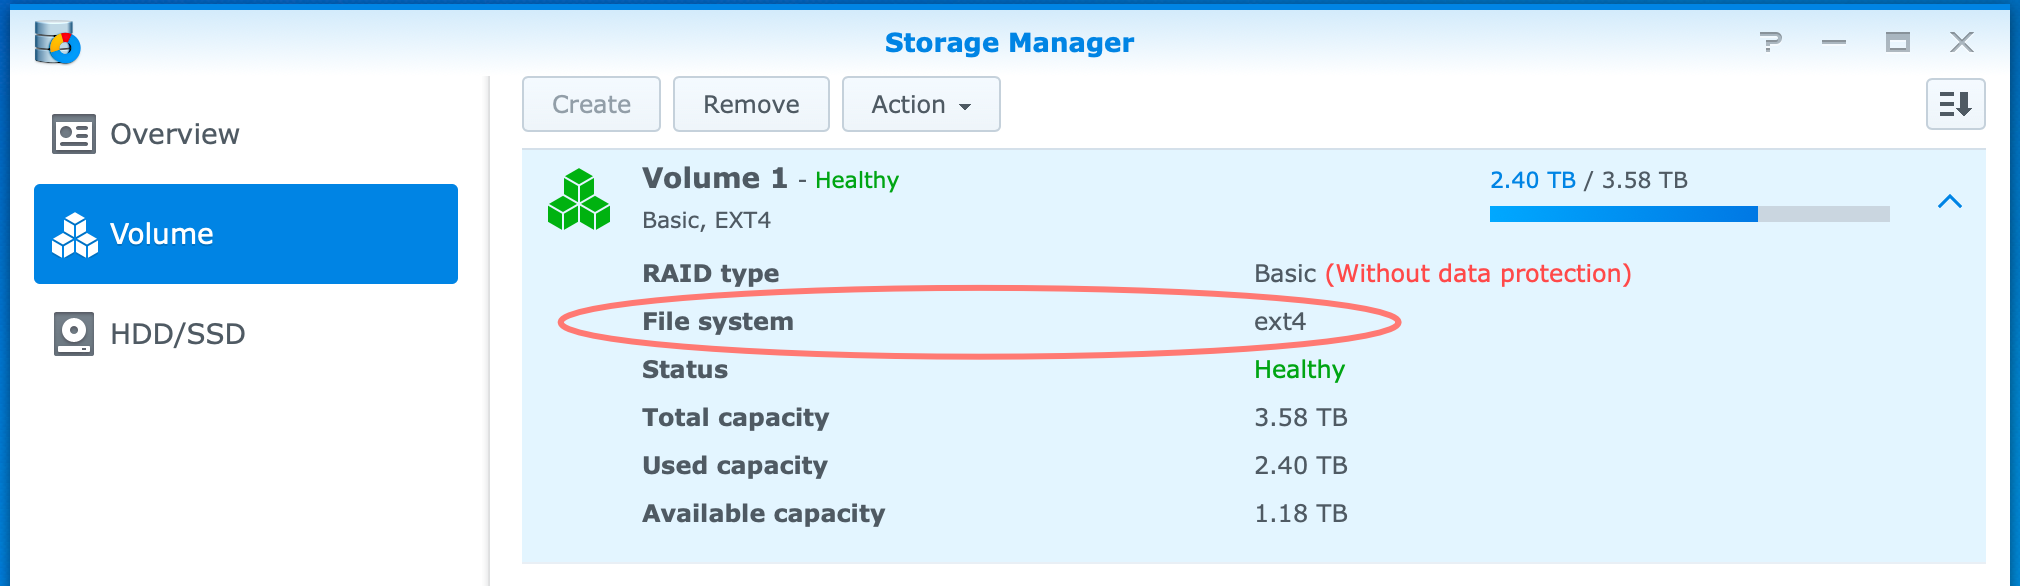
An EXT4 file system is better than Btrfs for a web server because it is faster, and you do not need the extra bells and whistles that Btrfs offers.
Note that you can start with your NAS and give it a spin. Over time, you can step up to an ideal situation.
Secure your NAS
Like with external access, you should take preventive measures against attacks when you allow users from the internet to visit your website. Here, a separate NAS or virtual DSM for your website has its edge.
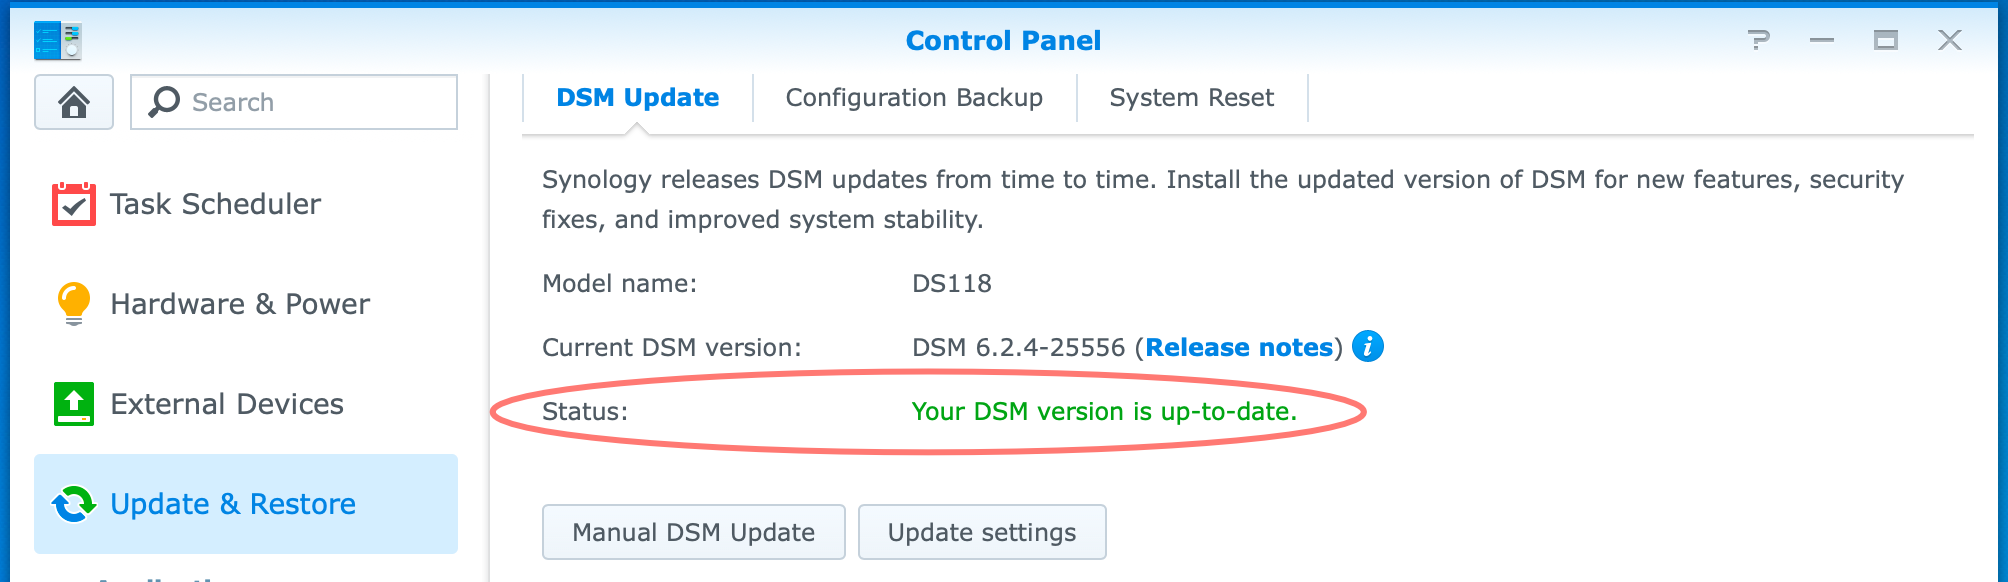
Some ingredients are strong passwords and two-factor authentication, a password manager, keeping your software up to date, and a good backup strategy.
Regarding whether you go for WordPress from Synology or WordPress.org, I strongly advise choosing the latter if you open your website to the internet.
Accessing your website
The WordPress from Synology setup stores its files in the /web/wordpress folder. As a result, the web address of your site is http://ip_address_nas/wordpress or http://server_name.local/wordpress. Therefore, if you install WordPress from Synology, I assume your primary reason is the simple setup. I also guess you use it internally, not accessing it from the internet.
The WordPress.org installation mitigates the issue of the subfolder as a suffix via a web portal configuration in Web Station. You configure a domain name for this /web/subfolder within Web Station. As a result, your website address will be something like http://synodemo.com if synodemo.com is your domain. I discuss the web portal in part 3.
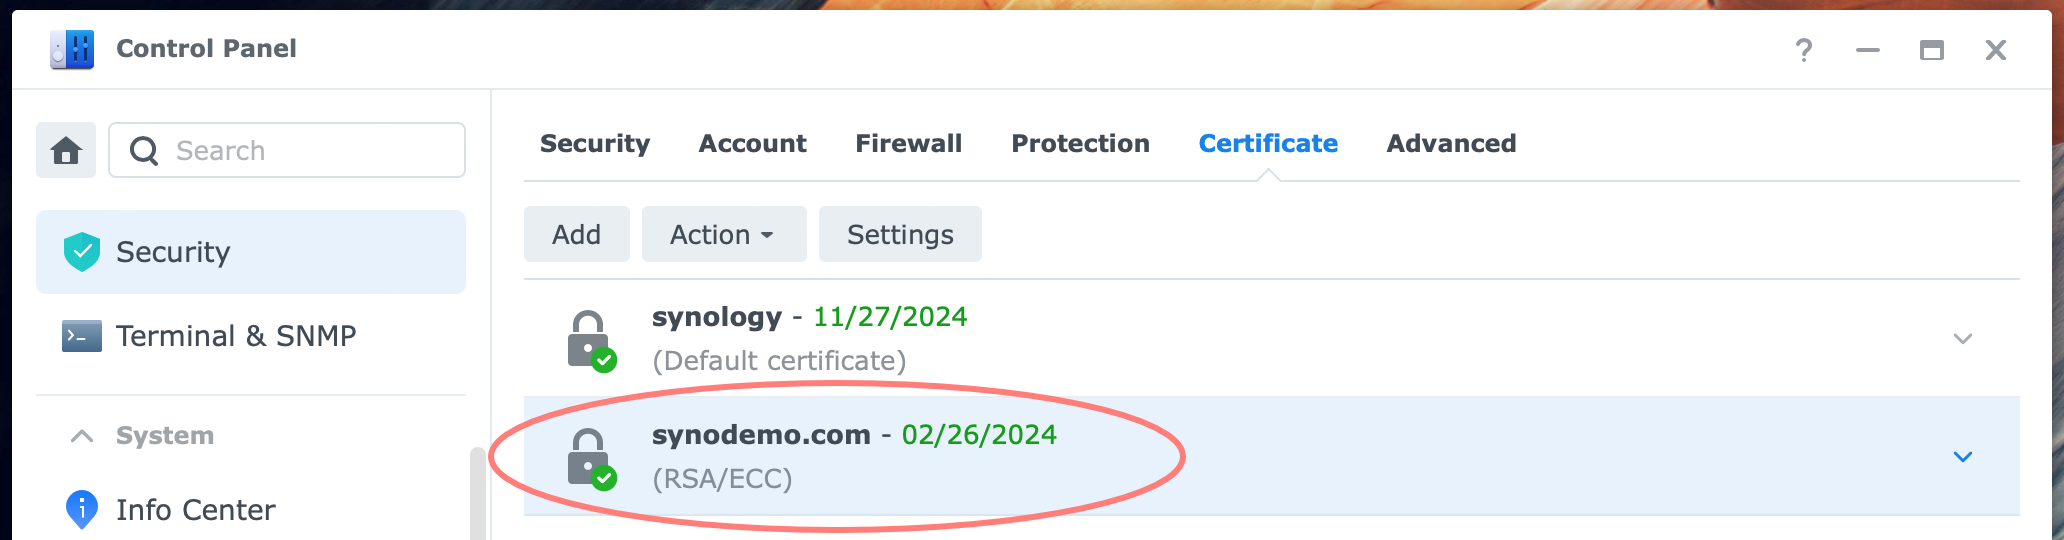
In addition, you can link an SSL certificate to that virtual host so that the address becomes something similar to https://synodemo.com/. Do not forget to register your domain name in advance.
You can request and install a free Let’s Encrypt certificate from your NAS during the setup. You can replace it later with another certificate if you wish.
Router set up
Unless you plan to use your WordPress website internally only, you must configure port forwarding from your router to your NAS. For this to work reliably, you give your NAS a fixed IP address on your local network.
A second question is whether your router’s external IP address is static or dynamic. If fixed, you can link that address to your domain. If not, you must use Dynamic DNS, or DDNS for short, in between.
Virtualization
If you plan to run WordPress on your NAS and make it accessible from the Internet, you could consider running it from a separate NAS or a virtual NAS. In the latter case, you can choose between installing WordPress on a virtual DSM or from Docker or Container Manager.
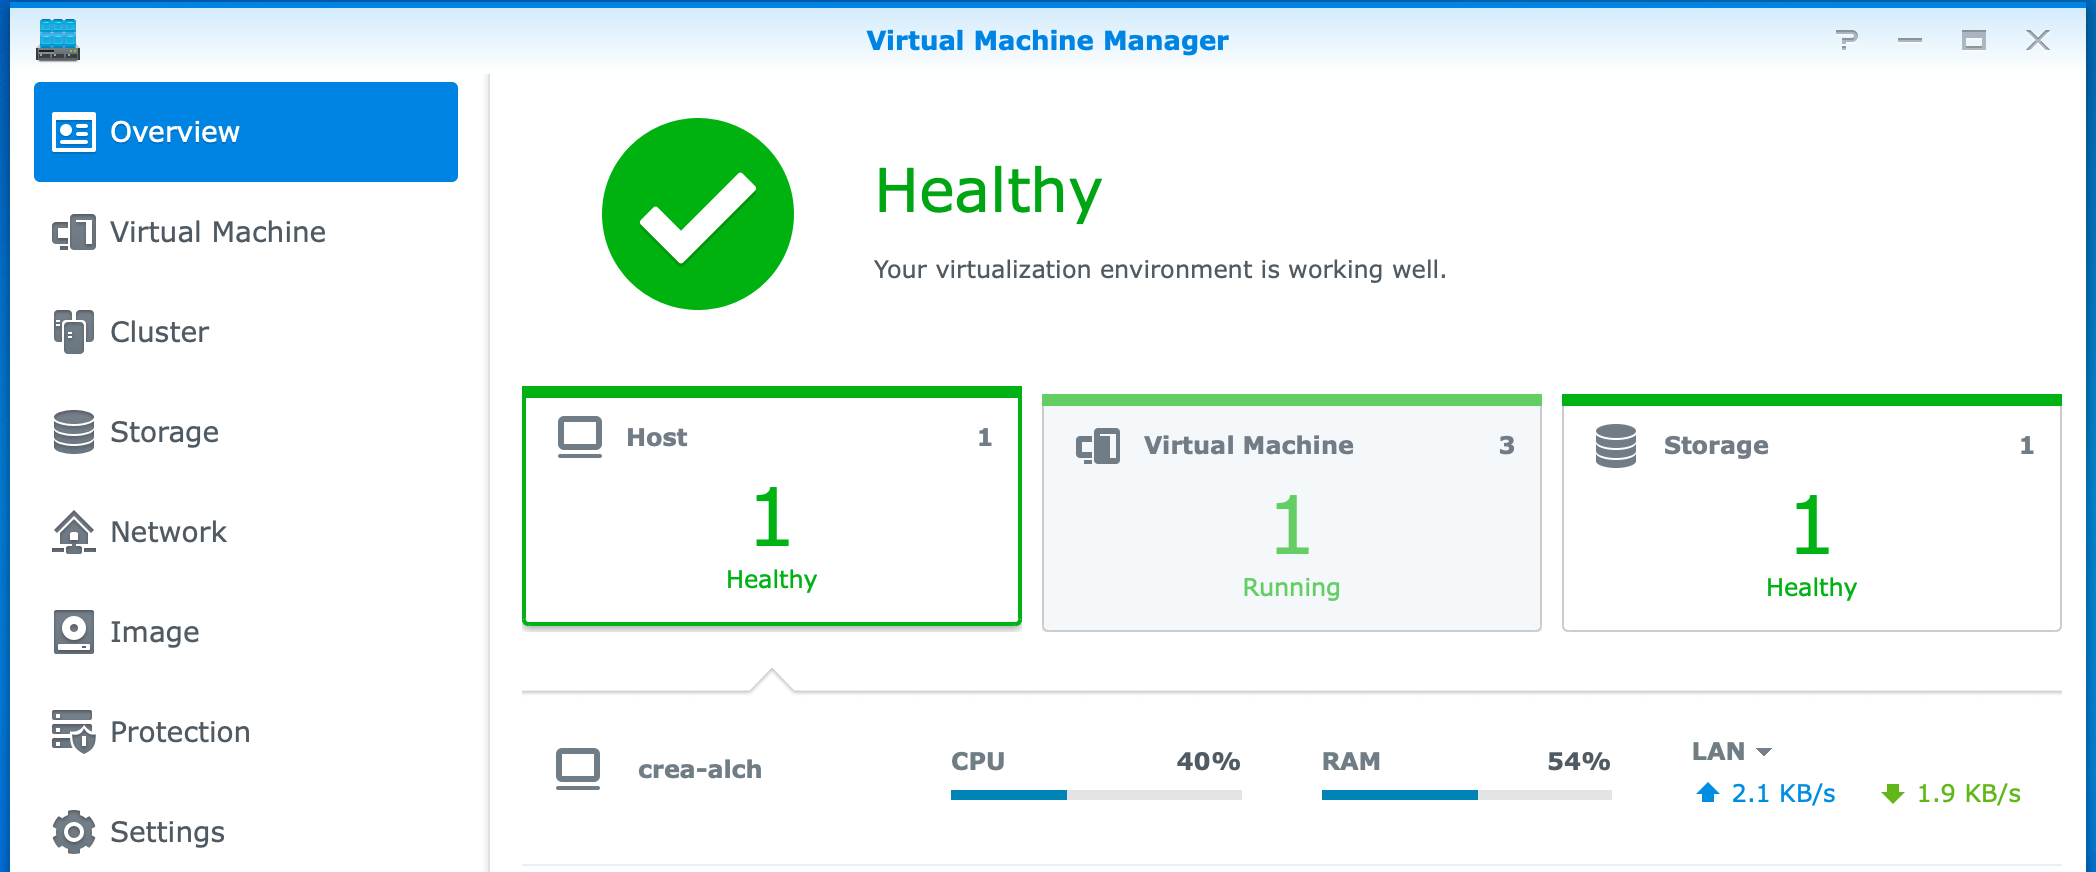
This is the same as installing a physical DSM from an installation and configuration perspective. Neither virtualization option is part of the scope of this series.
Next Step
Hopefully, part 1 of this series helped you to decide whether you would like to go with the WordPress from Synology or WordPress.org setup.
Go to Successfully install WordPress on Synology NAS (part 2) for the WordPress from Synology solution. Or choose Successfully install WordPress on Synology NAS (part 3), where you learn how to install the download from WordPress.org on your Synology NAS.
In Successfully installing WordPress on Synology NAS (part 4), it all comes together again when we discuss backups and other maintenance tasks.
Thanks for reading
This post is donation-ware, and I made it to help you. Please consider leaving a comment or even buying me a coffee if it did. I will be eternally grateful.
Paul Steunebrink / Storage Alchemist
Thank you for this detailed article, it is giving me the confidence to try a manual install.
I built my site with the Package Center version of WordPress but now feel I want to move to a manual installed version, for many of the reasons you mention. Have you experienced or seen documentation of how to successfully migrate?
My concern is mainly around the DB and all the media which appear to have the URL embedded, so if move from ../wordpress/wp-content/… to something like ../site1/wp-content/… I don’t want to have to manually redo all the links.
Thank you for any information that you could supply.
Hi Nigel,
Thank you for your comments. I suggest using one of the many WordPress migration tools to migrate your website. Just search for ‘migrate WordPress.’
Please note that you can have both installations of WordPress on the same NAS if you find this convenient.
Best regards, Paul Steunebrink / Storage Alchemist
Hi Paul,
I’ve tried a few times to install WordPress, both ways, with varying results.
I’d like to use your installation procedure and do a “clean install”. Should I uninstall WordPress and all related apps? Can I or should I delete the different folders, ie web, web_packages, and WordPress? If so, I was going to rename the old folders as old_… as backup.
I hope this all makes sense and thanks in advance for any help you may provide.
Hi Dave,
Yes, you can delete all related apps and the folders you mentioned. For assistance, reference part 4 of this series unless you already did.
Not sure what went wrong with your installations, but I admit that need to update the posts to reflect the status of DSM 7.2 like newer versions of PHP and Apache.
Best regards, Paul Steunebrink / Storage Alchemist
Hey, this is a very good guide you have here!
I have 1 question:
Can I have wordpress installed on a smaller volume, and the bigger video files on an other volume? I mean can wordpress find them, or do they need to be on the same volume?
I would like to use the Synology as a backup and wordpress. I know its not the perfect solution. But I need to have a backup on the Synology, and I dont want them to be twice on the NAS (Backup section and WP section). Can there be a link between them, or do I need to “reupload” them again to the WP section?
Kind regards
Stefan
Hi Stefan,
I am not sure that is possible. You might search for how to redirect the WordPress’ upload folder to a different location.
Best regards, Paul Steunebrink / Storage Alchemist